Friday, October 30, 2009
A great place to learn hdr photography
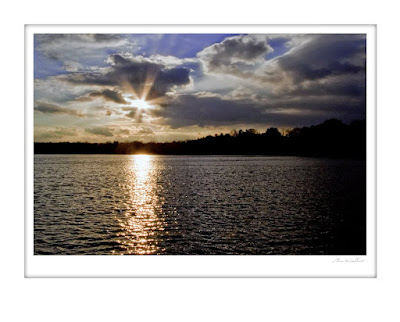
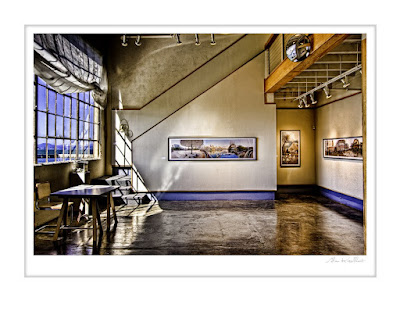
I have written before about one of my all time favorite hdr shooters, Trey Ratcliff. Well he and a good friend have started this great new site called hdr spotting. If you have any interest in hdr photography it's the place to go. You can see what others are doing with their images. By studying the pictures submitted I get a better idea of what to look for in my own work. Some of mine have been accepted for display. It's a great incentive to do better work. Have a great week-end
Monday, October 26, 2009
A real time saver in the digital darkroom

This is one of my favorite keyboard shortcuts. I use it all the time when working on a large file with lots of layers. An example would be when I'm doing a website using SiteGrinder or creating a montage.
Here it is. Click on the "Move" tool (Ctrl V). Now hold down the Ctrl key and just click on any part of the image whose layer you want to find. That layer will become active in the Layers Pallet. Cool, yes. Try it, you'll love it.
Tuesday, October 20, 2009
David duChemin's new e book is out. "Drawing The Eye"
A few days ago I mentioned that David duChemin had a series of e books and that a third was going to be released soon. Well today is the day. Find it here. "Drawing The Eye" is a wonderful discussion about what draws the eye allowing the photographer to intentionally direct the viewers eye. "Understanding what draws the eye is key to creating compelling images to which we want others to feel drawn, images that tell the stories we want to with the best chance of communicating the things we want told."
I downloaded it today. It's a quick and very informative read. I know you'll like it.
I downloaded it today. It's a quick and very informative read. I know you'll like it.
Sunday, October 18, 2009
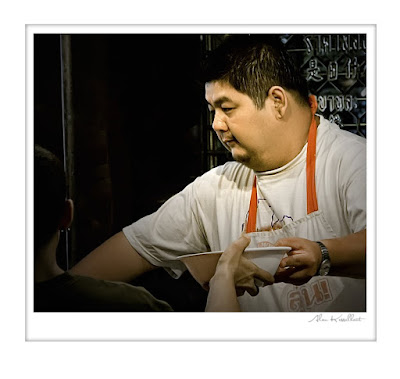
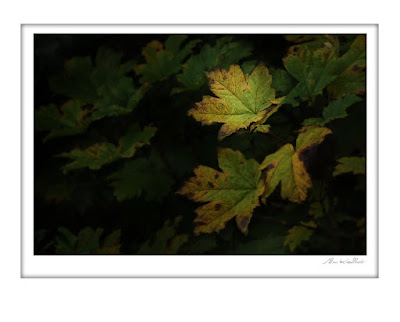
Placing a mat around your picture in photoshop

I've been asked how I place the mat around my pictures. It's easy.
Open your picture and duplicate the layer - Control + J
Press and hold Ctrl + Alt + C . This bring up the Canvas Size dialog box.
Make sure that the Relative box is checked, the Canvas Extension Color is set to White and the unit in the measure box reads inches. Now add 2 inches to the Height and Width. Click OK.

Next we want to add some additional space at the bottom of the picture. With the image remaining open, do the same thing over again but this time I want you to Click on the Top Arrow in the Anchor box. This will move the blank box to the top of the Anchor box. Leave the Width at "0" and add 1 inch to the Height. Click OK
With Layer 1 active press and hold the Ctrl key. Now click on the "Add a layer" icon at the bottom of the layer pallet. This will add a new layer below "Layer 1". Activate this new layer.
Press the "M" key to activate the Marquee tool. Make sure that you have the rectangular marquee tool selected. Click at the top LEFT and drag down the down to the lower RIGHT adding the amount of space you want for the mat.
Make sure your background is set to white in your color picker. Press the "D" key to return to the default setting and the "X" key if required to toggle the foreground and background colors. Press and hold the "Ctrl" key and press the Backspace key to fill the box you created with white. Press Ctrl + "D" to deselect
Double click on "Layer 2" to bring up the "Layer Styles" dialog box. Click on "Inner Glow" . Change the blend mode to Normal. Open the color picker dialog box by clicking on the yellow square and choose black for your new color. Click OK. Play with the Opacity and Size sliders to get the mat to your liking. Click OK . Finished.
I've set up the first part of the process as an action that takes me down to adding the marquee tool and filling it with white. Because each picture is a different size you'll have to do this each time. I've saved the "Layer style" I created as a "New Layer Style" making the entire process quick and easy.
Tuesday, October 13, 2009
Rick Sammon's "Top 10 digital photography tips" . . .and much more
Sunday, October 11, 2009
Taking a second look

I've been working on a new website. I've been searching my files to find photographs to upload. Looking at them I realized that taking a second look at pictures was a part of my normal workflo. I bring my pictures into lightroom where I do some quick editing. I move into Photoshop to continue the process. My goal is to work on an image less that 5 minutes. I save it back into lightroom. Sometime later I bring it back onto my screen. In an instant I can see if it needs a tweak or not. Try it, I think it will help. It has for me.
Monday, October 5, 2009
David duChemin has some ebooks
David is one of my favorite writers/photographers. His book "Within The Frame" has helped me understand the WHY of photography. I can't recommend it enough. He now has come out with a series of e books.“Ten Ways to Improve Your Craft. None of Them Involve Buying Gear.” is the first. The second, "Ten More" builds on the first. I believe there will be one more. The price is $5.00 each. A great value for so much photographic incite and information. He even gives an exercise to go along with each chapter. Find them here.
Friday, October 2, 2009
Lighting Effects filter

One of my favorite filters in photoshop is the "Lighting Effects" filter. Filter>Render>Lighting Effects. I use the "Soft Omni" from the drop down menu. In the Preview box you can click and drag the center to position the light where you want it and click and drag the squares on the outside circle to enlarge or contract the area of light. Play with the sliders to get the final effect you want. After clicking OK you can reduce the opacity or add a mask and use the brush tool to adjust the effect. Clicking the "Light bulb" at the bottom of the Preview box allows you to add more lights.
Subscribe to:
Comments (Atom)
