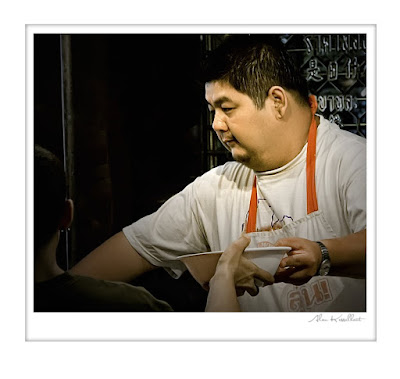
I've been asked how I place the mat around my pictures. It's easy.
Open your picture and duplicate the layer - Control + J
Press and hold Ctrl + Alt + C . This bring up the Canvas Size dialog box.
Make sure that the Relative box is checked, the Canvas Extension Color is set to White and the unit in the measure box reads inches. Now add 2 inches to the Height and Width. Click OK.

Next we want to add some additional space at the bottom of the picture. With the image remaining open, do the same thing over again but this time I want you to Click on the Top Arrow in the Anchor box. This will move the blank box to the top of the Anchor box. Leave the Width at "0" and add 1 inch to the Height. Click OK
With Layer 1 active press and hold the Ctrl key. Now click on the "Add a layer" icon at the bottom of the layer pallet. This will add a new layer below "Layer 1". Activate this new layer.
Press the "M" key to activate the Marquee tool. Make sure that you have the rectangular marquee tool selected. Click at the top LEFT and drag down the down to the lower RIGHT adding the amount of space you want for the mat.
Make sure your background is set to white in your color picker. Press the "D" key to return to the default setting and the "X" key if required to toggle the foreground and background colors. Press and hold the "Ctrl" key and press the Backspace key to fill the box you created with white. Press Ctrl + "D" to deselect
Double click on "Layer 2" to bring up the "Layer Styles" dialog box. Click on "Inner Glow" . Change the blend mode to Normal. Open the color picker dialog box by clicking on the yellow square and choose black for your new color. Click OK. Play with the Opacity and Size sliders to get the mat to your liking. Click OK . Finished.
I've set up the first part of the process as an action that takes me down to adding the marquee tool and filling it with white. Because each picture is a different size you'll have to do this each time. I've saved the "Layer style" I created as a "New Layer Style" making the entire process quick and easy.
No comments:
Post a Comment